
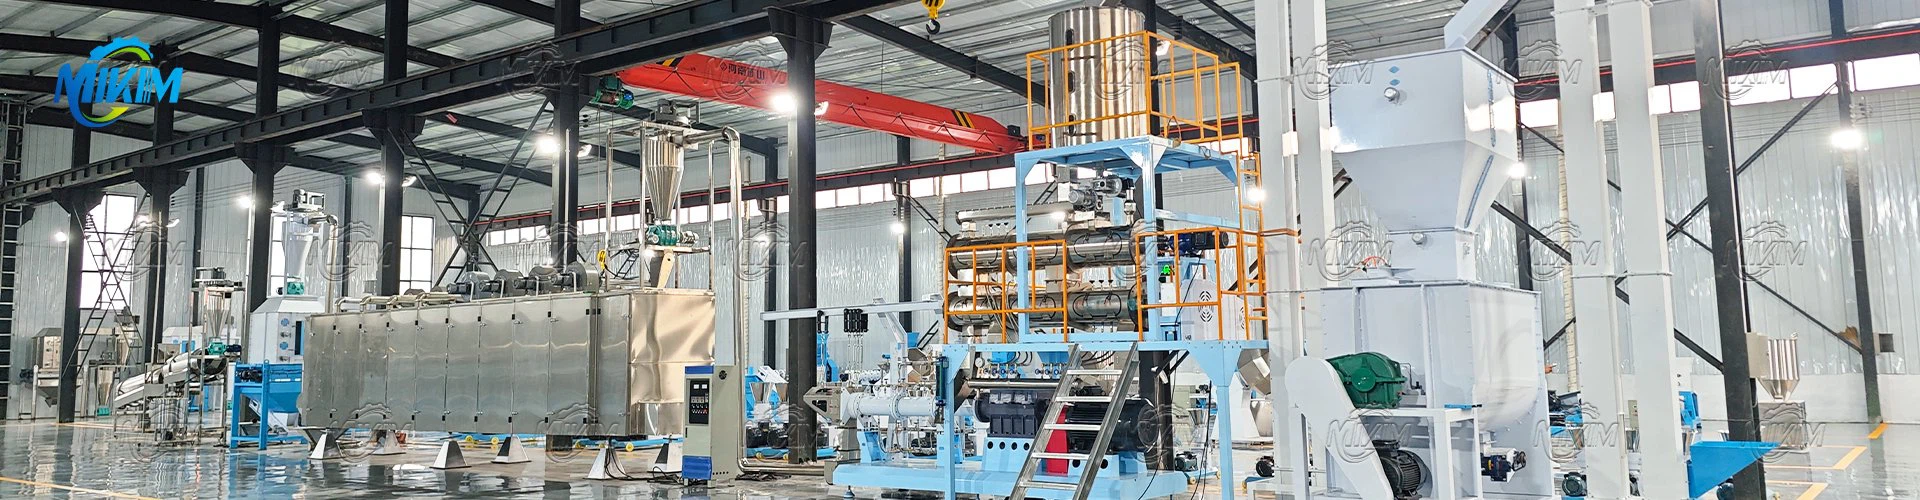
Preparation Before Disassembly
Safe disassembly begins before any tool touches the machine. First, switch off the power and unplug the machine to eliminate any risk of accidental start-up. Next, gather the tools required for the job, including wrenches, screwdrivers and pliers in sizes that match the machine fasteners. If the machine is mounted at ground level, use a bracket or lifter to raise it to a comfortable working height, and clear enough space around the unit for disassembly, cleaning and parts storage. Work on a clean surface so small components are not lost.
Understanding the Machine Layout
A typical flat-die feed pellet machine consists of a feeding hopper, a main body housing the die and pressure rollers, a drive motor and a discharge area. The rated parameters differ between models: for example, small machines rated around 3 kW produce roughly 80 to 100 kg per hour, while larger units rated at 22 to 30 kW reach 700 to 1500 kg per hour depending on die configuration. The machine dimensions and weight scale with the rated capacity, which affects how much workspace and lifting support the disassembly process requires.
Disassembly Steps
Start by removing the machine casing. Locate the fixing screws, loosen them with the correct wrench or screwdriver, and lift the casing away carefully. Next, remove the rotor assembly: before taking it out, inspect it for wear or deformation, because a bent rotor will be obvious once it is free and should be replaced rather than reinstalled. Then remove the screen or die, handling it with care so the die holes and edges are not damaged. Work in a fixed order and place each removed part on the prepared surface, grouped by function, so reassembly is straightforward.
Cleaning and Inspection
Clean every removed part thoroughly, paying particular attention to grease, oil and compacted feed residues that accelerate corrosion and attract pests. After cleaning, inspect each component for wear, cracks or deformation: check the roller surfaces for flat spots, the die holes for plugging, the bearings for roughness, and the bolts for thread damage. Replace or repair any defective part immediately instead of reinstalling it, because a marginal part is the most common source of the next failure.
Reassembly and Post-Service Checks
Reassemble in the reverse order, tightening fasteners to the values given in the manual and confirming that the die and rollers are correctly aligned and free to rotate. After reassembly, run the machine without material for a short period and listen for abnormal noise or vibration before loading production feed. Record the inspection date and the condition of each wear part in a maintenance log so that future servicing follows a predictable schedule.
Frequently Asked Questions
How often should a feed pellet machine be disassembled for cleaning? after every production run the machine should be emptied and wiped down; a full disassembly for deep cleaning is recommended at least monthly or after heavy use.
Do I need special tools to disassemble a pellet machine? Basic hand tools such as wrenches, screwdrivers and pliers are sufficient for most models; a torque wrench is recommended for reassembly to avoid over-tightening.
How do I know when the die needs replacement? Replace the die when pellet output drops, pellet surface becomes rough, or the die holes show visible wear or plugging that cleaning cannot restore.
Can I disassemble the machine myself? Yes, routine disassembly for cleaning and inspection is designed to be done by the operator, provided the power is disconnected and the manual is followed.
What should I check after reassembly? Verify fastener tightness, free rotation of rollers and die, and run a short no-load test to confirm there is no abnormal noise or vibration.